


The Cutest Easter Crafts for Kids with Karimah of @craftingafunlife
It’s almost Easter and we can’t wait! One of my favorite parts about the holiday is all of the fun Easter crafts for kids we can create together! I’m sharing some of my family favorites that are super easy and I’m even sharing some fun Easter egg decorating ideas.
Tip: For a fun twist to the classic Easter egg activity, replace hard-boiled eggs with plastic crafting eggs!

Looking for Things to Do in Tampa Bay?
>>This Week’s Favorite Events
>> Nearby U Pick Farms
>> 40+ Free Things to Do with Kids
Related: Where to Take Pictures with the Easter Bunny, Easter egg hunts and more!
Easy DIY Easter Crafts for Kids
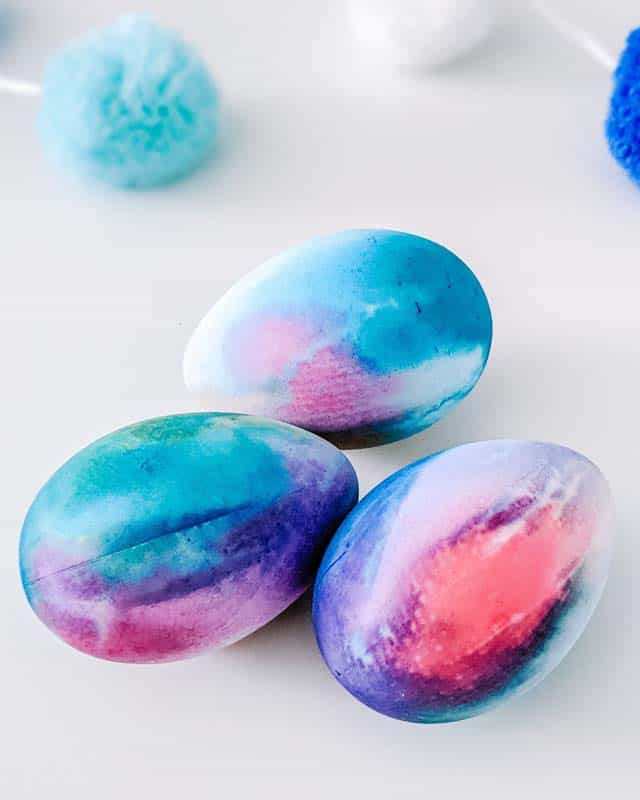
Paint Drip Easter Eggs (pictured at the top of post)
Supplies
- Unfinished plastic craft eggs
- Paint
- Squeeze bottle or cup
- Toothpicks
- Craft foam block
Directions
- Start by inserting a toothpick in each egg, then insert the toothpick onto the craft foam
- Next, fill squeeze bottles or cups with paint.
- Squirt or pour the paint over the eggs and watch the colors mix
- Finally, let the egg dry on the foam block, then use it as
Tie-Dye Easter Eggs
Supplies
- Unfinished plastic craft eggs
- Paper towel
- Food coloring
- Rubber bands
- Gloves (optional)
- Spray bottle filled with water
Directions
- Start by wrapping the craft egg inside a paper towel, then tie it with a rubber. If you don’t have a rubber band, use an elastic hair tie.
- Next, drop food coloring in random spots on the paper towel covered. Leave spaces in between the colors.
- Use a spray bottle to spray water all over the paper towel so the colors bleed. If you don’t have a spray bottle, fill a cup with water and drip it off your fingers until the colors spread.
- Finally, gently squeeze the egg over the sink to get rid of any extra. Let it dry on a plate or tray for a few hours or overnight, then unwrap it!
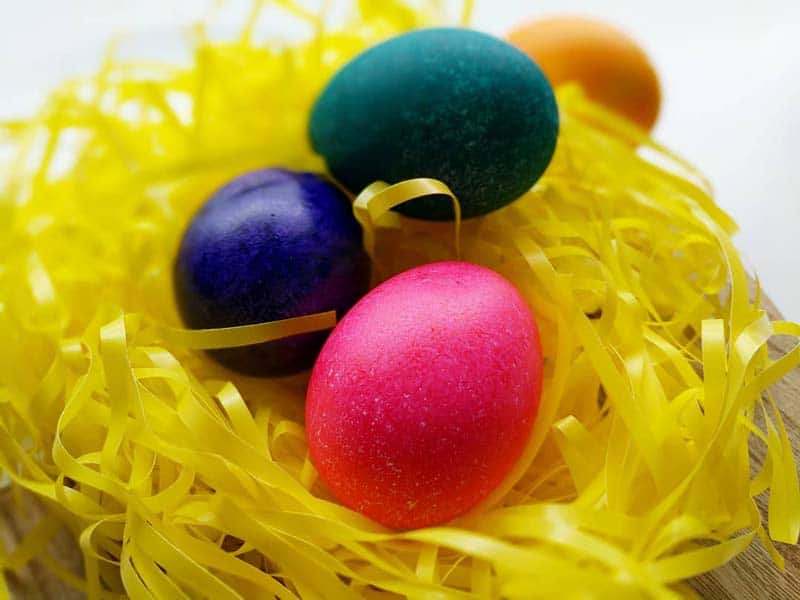
Rice Dyed Eggs
Supplies
- Unfinished plastic craft eggs
- Resealable bags or plastic 4-ounce storage containers with lid for each color
- Long grain rice
- Gel food coloring
- Disposable gloves or tongs
Directions
- Measure 1/4 cup of rice and pour into a plastic storage container or resealable bag.
- Next, add 5-6 drops of food coloring.
- Place the lid on the container or seal. Shake to mix thoroughly.
- Remove the lid or open the resealable. Then place an egg inside the container or bag. Cover the container or seal the bag and then shake until the egg is completely covered.
- Finally, use gloves or tongs to remove the egg and let it
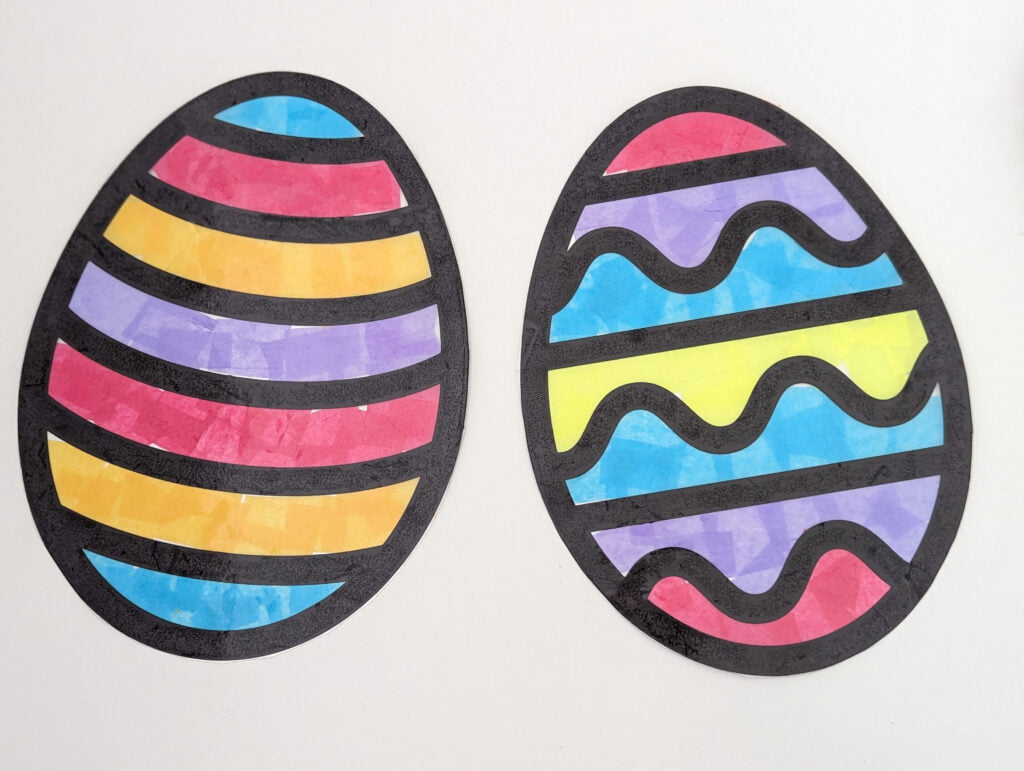
Easter Egg Sun Catcher
Supplies:
- Colorful tissue paper
- Scissors
- White cardstock
- Pencil
- Clear contact paper
- Chunky glitter (optional)
- Easter egg template
- Double-sided tape
Directions:
- First, download and print the FREE Easter egg template.
Next, cut the tissue paper into small pieces. If you’re not comfortable with your child
using scissors, let them tear the tissue paper by hand. - Cut a piece of contact paper that is larger than the Easter egg then peel off the backing.
Carefully place your egg outline on top of the contact paper. - Cover the inside of the Easter egg with the tissue paper pieces. Once finished, your child
has the option to add chunky glitter. - Carefully peel off the back of another contact paper and place it on top of the egg, sticky
side down. Smooth it out to get rid of any creases or bubbles. - Finally, cut out the Easter egg suncatcher. Use double-sided tape to stick to a window or
sliding glass door.
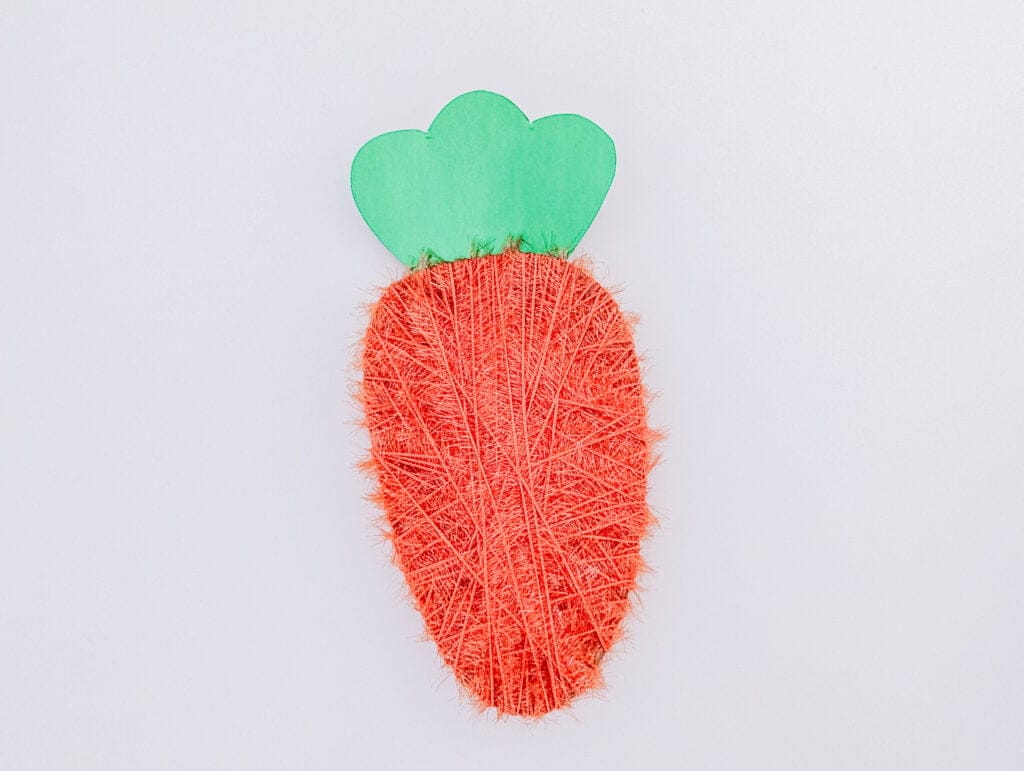
Yarn Wrapped Carrot
Supplies:
- Recycled cardboard
- Orange yarn
- Tape
- Green foil cardstock
- Scissors
- Clear tacky glue (optional)
- Carrot template
Directions:
- First, download, print then cut out the FREE carrot template. See supplies to get the template. If you have a cutting machine like a Cricut, search for a carrot image then cut.
- Next, trace the root of the carrot on recycled cardboard then cut.
- Tape the beginning of your orange yarn to the back of your carrot. Now, wrap the carrot
with the orange yarn until it’s completely covered. - Finally, trace the carrot leaf on the green foil cardstock then cut. Tape or glue it to the
back of the carrot.
Check out @CraftingAFunLife for more crafting inspiration!
Originally published in the April 2023 issue of of Tampa Bay Parenting Magazine.