


Halloween Craft Ideas with Karimah of @CraftingaFunLife
Get ready to take it all in–we’ve got the cutest Halloween crafts for kids!
Sure, kids love Halloween, but there’s another group of people for whom this holiday spells endless potential—crafters!

Looking for Things to Do in Tampa Bay?
>>This Week’s Favorite Events
>> Nearby U Pick Farms
>> 40+ Free Things to Do with Kids
If you love DIY projects, these Halloween craft ideas and DIY Halloween costume ideas are probably right up your alley.
And even if you don’t, these ideas are simple enough that you can get your kids involved in the project.
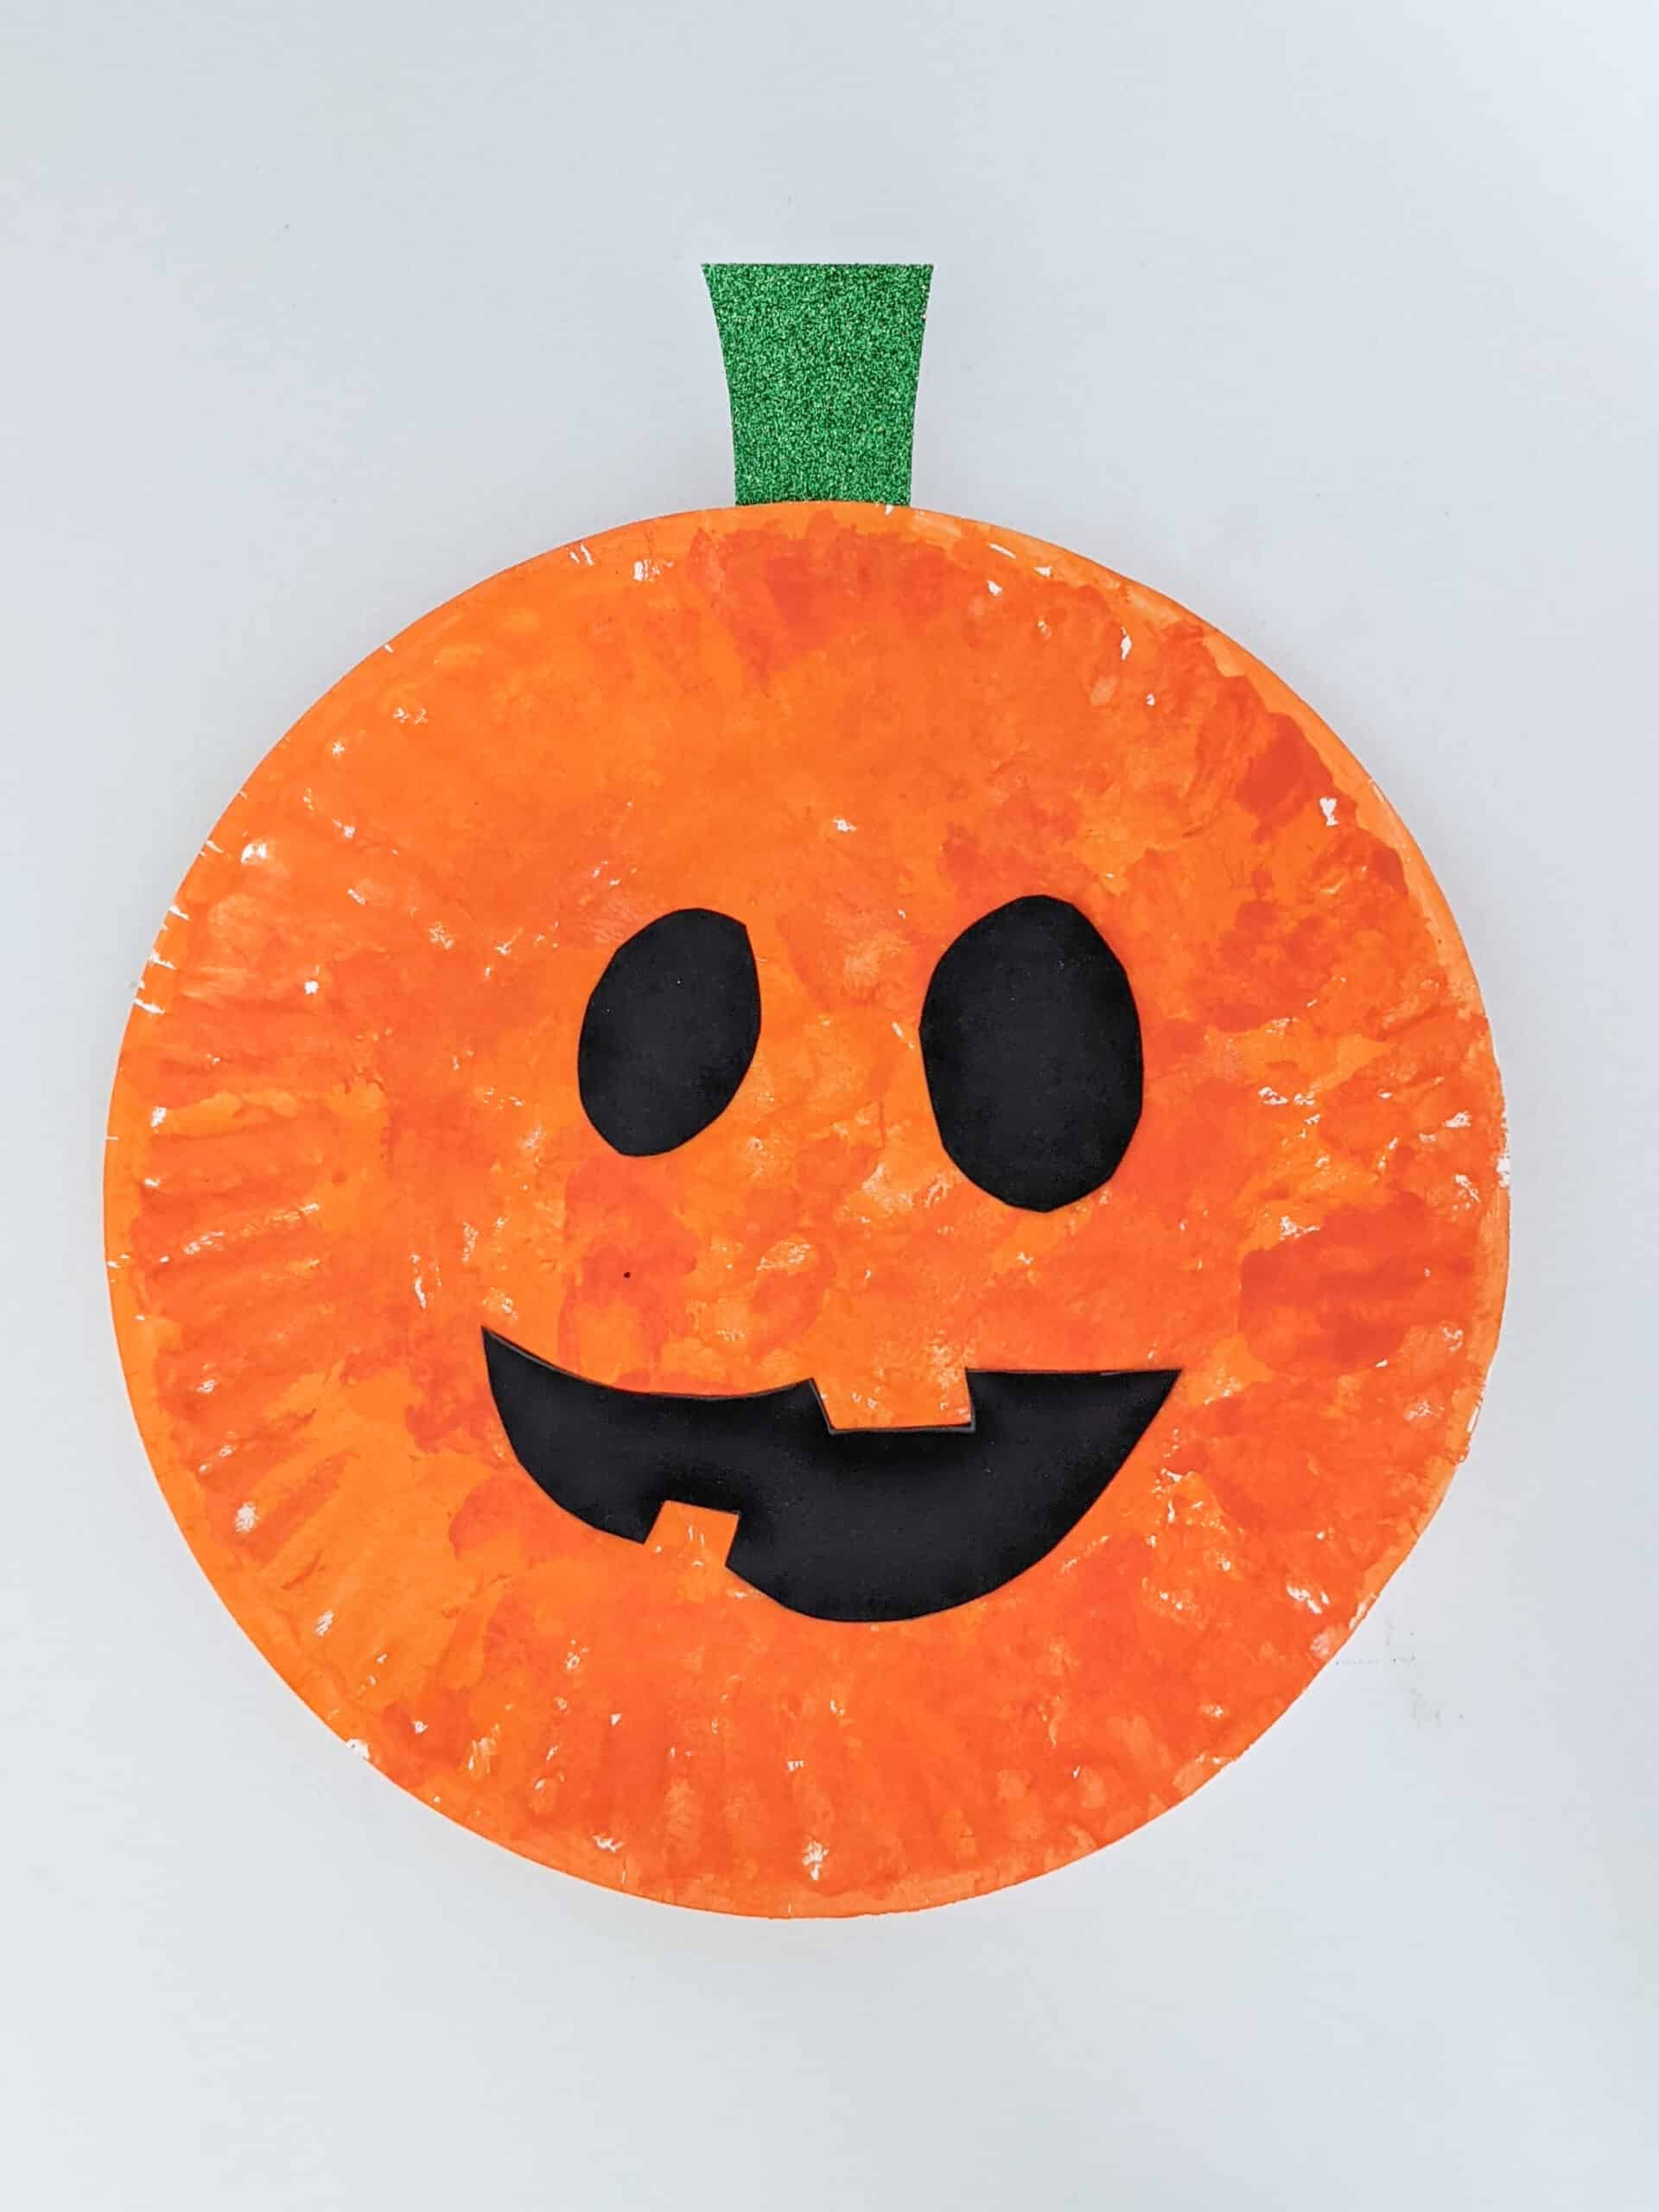
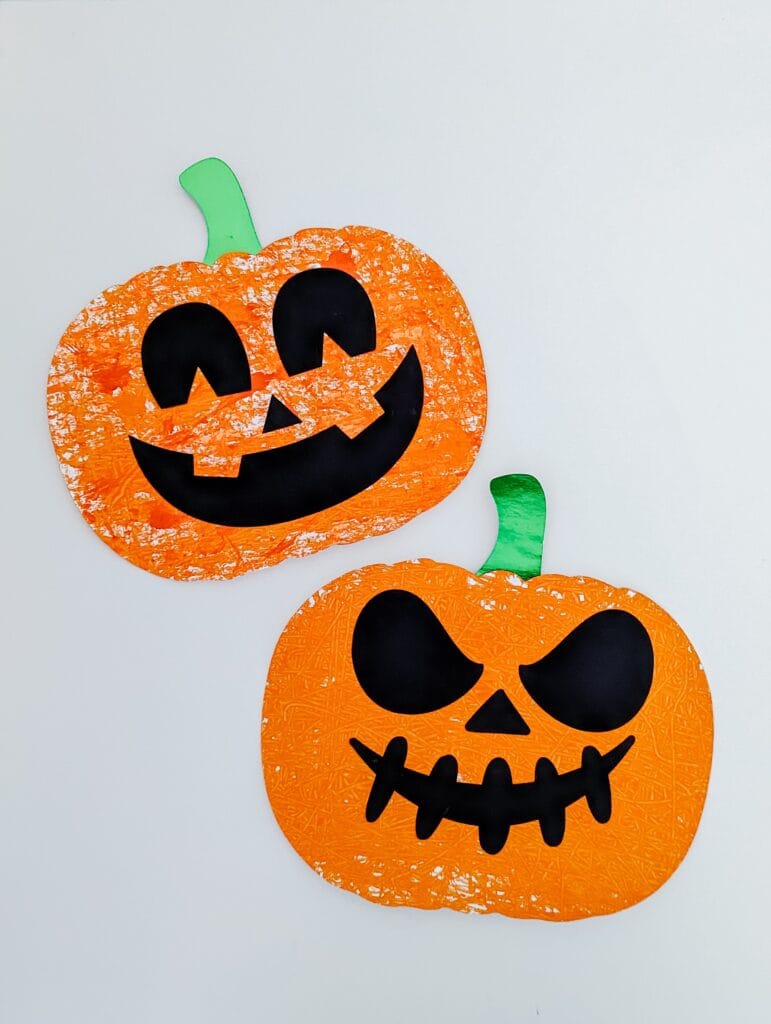
Paper Plate Jack O’ Lantern Halloween Craft
Supplies
- Paper plate
- Orange paint
- Cotton balls
- Tacky glue
- Clothespin
- Black cardstock
- Green glitter cardstock
- Scissors
Directions
- Start by having the kids pinch a cotton ball in a clothespin and dip it in orange paint. Now paint the paper plate using the cotton ball. Allow it to dry.
- Next, cut a stem from green glitter cardstock. Glue it to the back of the paper plate to create the pumpkin.
- Finally, cut pieces for the face from black cardstock. You can make circles or triangles for the eyes. The mouth can be any shape that’s easy for your child to cut. Glue the pieces to the paper plate pumpkin to form the face of the Jack O’ Lantern.
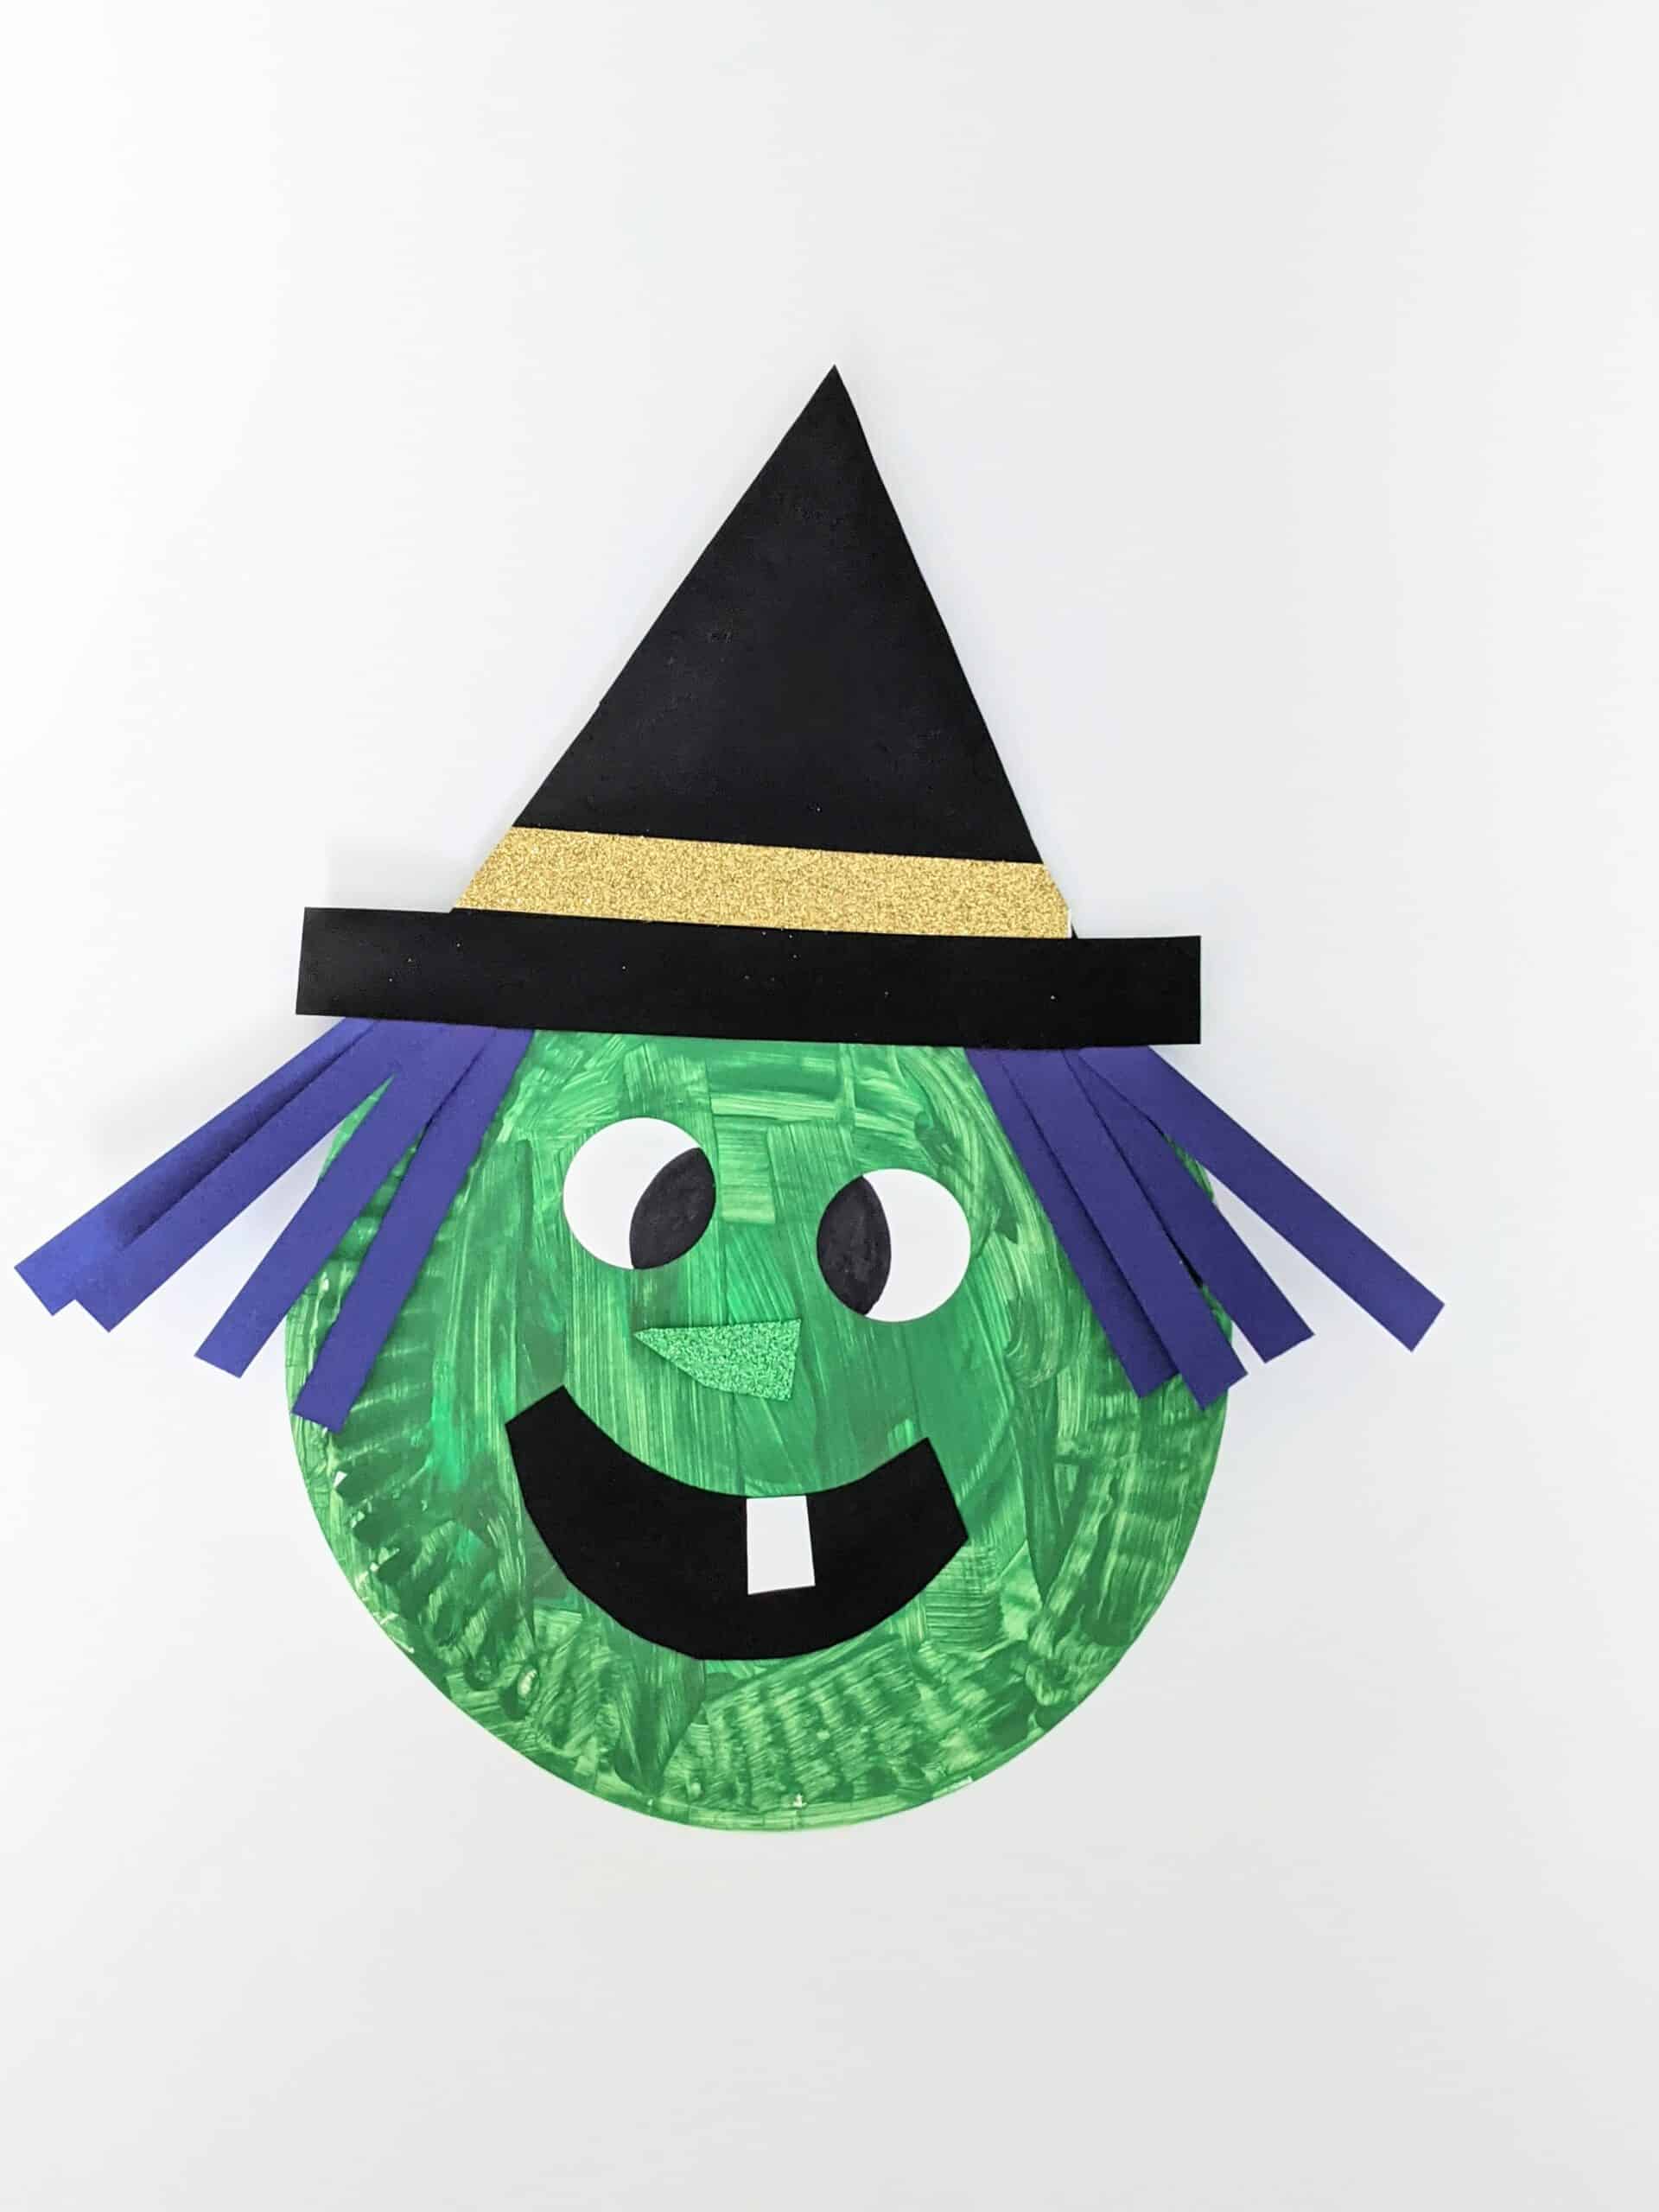
Paper Plate Witch Craft
Supplies
- Paper plate
- Green paint
- Foam brush
- Tacky glue
- Glue stick
- Black marker
- Scissors
- Cardstock (black, white, green glitter, purple, white and gold glitter)
Directions
- Start by painting the paper plate green. Allow it to dry.
- Use scissors to cut strips of purple This is great cutting practice and helps improve fine motor skills.
- Make the hat using black Cut a simple triangle, a rectangle for the hat brim and a rectangle from gold cardstock for the trim. Use the glue stick to assemble.
- Glue the purple strips onto the top and sides of the paper plate to create the hair, and then glue the hat to the top of the
Finally, use the remaining cardstock and black marker to create facial features for the witch. Allow your kids to get creative with the eyes, nose and mouth.
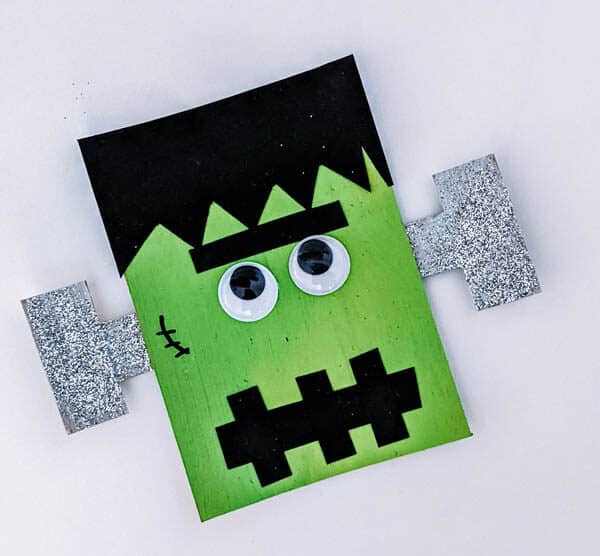
Frankenstein Halloween Craft for Kids
Supplies
- Recycled cardboard
- Paint (silver & green)
- Scissors
- Googly eyes
- Craft glue
- Black cardstock or construction paper
- Black marker
- Silver glitter (optional)
- Paintbrushes
Directions
- Cut a 3-inch by 4-inch rectangle from recycled cardboard. Paint this rectangle green to create Frankenstein’s head. Set aside to dry.
- Next, make Frankenstein’s bolts by cutting a thin strip of cardboard about 2 inches wider than the head. Then cut two small rectangles to make the heads of the bolts. Paint them silver then set aside to dry.
- Glue the long cardboard strip behind the green rectangle cardboard (head). Then glue a bolt head onto each end of the strip. You can add glitter to the bolts or leave as is.
- Use scissors to cut some hair, eyebrows and mouth from black cardstock or paper. They can be any shape you like. Get creative and have fun!
- Finally, complete your Frankenstein craft by gluing the hair, eyebrows, mouth and googly eyes on the green rectangle (head). Use a black marker to add a scar to your Frankenstein.
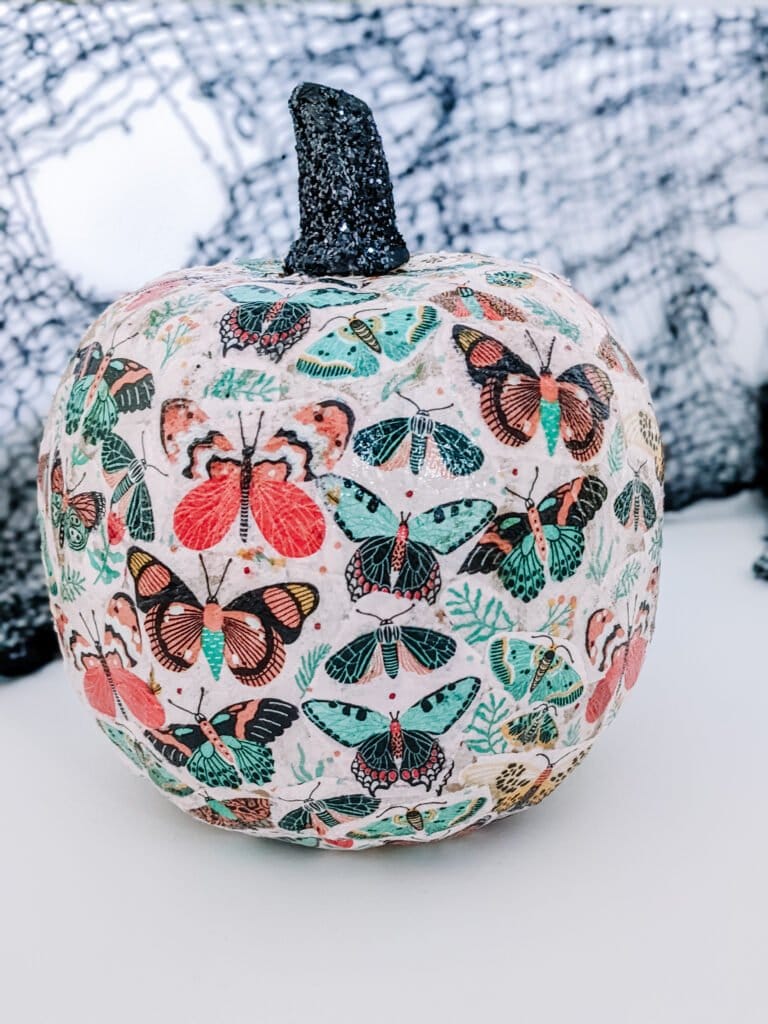
Decoupage Pumpkin Using a Napkin
Supplies:
- Papier mâché or regular craft pumpkin
- Mod podge
- Decorative paper napkins
- Paper plate
- Foam brush
- Scissors
- Black paint or any color that matches the napkin.
- Glitter (optional)
Directions:
- First, open the napkins and separate the back piece so you are left with the printed side. Cut the napkin into strips or cut the prints that you want from the napkin. The second option is more time-consuming.
- Next, pour some Mod Podge onto a paper plate. Use the foam brush to apply Mod Podge to the center of the pumpkin. Make sure to work in small sections.
- Apply the napkin strips to the pumpkin. Make sure to smooth it out to avoid wrinkles. Continue adding napkins until the entire pumpkin is covered.
- Allow the pumpkin to dry for at least two hours. Then apply a top coat of the Mod Podge in an even pattern. Set aside to dry completely.
- Finally, paint the stem of the pumpkin black or any color. I decided to add glitter, but it’s definitely optional.
Jack-O’-Lantern Marble Painting
Supplies:
- Pumpkin template (visit craftingafunlife.com)
- Tray, plastic bin or recycled box
- White cardstock
- Scissors
- Jack-o’-lantern faces template (visit craftingafunlife.com)
- Glue stick or white liquid glue
- Marbles
- Green cardstock
- Tape
- Orange paint
Directions:
- First, you need to download, print and cut the free pumpkin template (craftingafunlife.com).
- Next, tape the pumpkin inside of a box, plastic bin or tray.
- Add a few drops of orange paint inside of the container with the pumpkin. We used different shades of orange, but using only one color is fine.
- Let your child drop a few marbles inside of the container. Tilt the container to move the marbles around to paint the paper. Play some Halloween music and have fun! Adults, make sure you are supervising smaller children.
- Once your child is finished, carefully remove the pumpkin then set it aside to dry.
While your pumpkin is drying, download, print and cut the free jack-o’-lantern faces (craftingafunlife.com) - Cut a small rectangle shape from green cardstock for the stem.
- Finally, glue the stem, mouth, nose and eyes to the pumpkin to complete your jack-o’-lantern marble painting.
Since we’re getting crafty, let’s step it up a notch with these cute DIY Halloween Costumes for kids from Karimah!
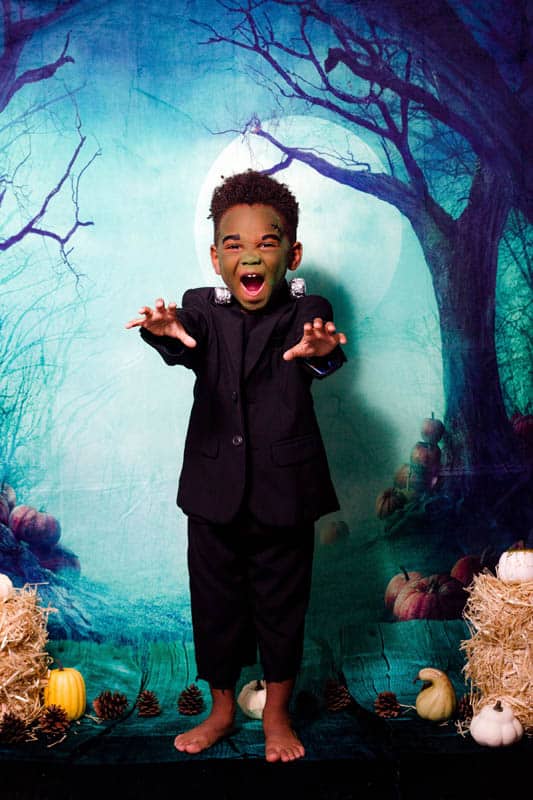
DIY Frankenstein costume
Supplies:
- Black headband
- Aluminum foil
- Empty soda or water bottles (2)
- Scissors
- Hot glue gun with glue sticks
- Oversize black blazer
- Black or striped shirt
- Black pants
Directions
- Use scissors to cut the top part of the recycled bottles so that you just have the cap and the neck of the bottle left. Trim off any remaining plastic.
- Cut two square pieces of aluminum foil, and then wrap the pieces around the bottle caps.
- Use hot glue to attach the caps onto the headbands.
- Dress your child in the blazer, shirt and pants to complete the outfit.
- Want to go all out with this costume? Apply green costume makeup to your child’s face using a beauty blender or sponge. Then use a waterproof eyeliner pen to draw scars and darken the eyebrows.
DIY Magician Costume for Kids

Supplies
- Red felt fabric sheet
- Glue gun with glue sticks
- Black cape
- White shirt (dressy or casual)
- Black pants (dressy or casual)
- Wooden dowel (7/16″ in diameter and 12″ long)
- Electrical tape
- White tape
- Black top hat
- Scissors
- Velcro sticky back coins
- Shoes (dressy or casual)
Directions to Make Bow Tie
- Start by cutting your red felt fabric sheet into 5-by-9-inch strips. You’ll also need a smaller piece of felt that is 2-by-4
- Pinch the larger rectangle in the middle to create nice, neat
- Wrap the smaller strip of felt around the pinched middle Cut off any excess fabric.
- Use the glue gun to add a small dollop of hot glue to the strip on the back side of the bow to secure Let dry for a few minutes.
- Finally, attach the Velcro sticky back coin to the back of the bow The other side will be attached to the cape when it’s time to dress up.
Directions to Make Magic Wand
- Start by wrapping your wooden dowel with the black electrical Leave about an inch at the top.
- Finally, cut a piece of white tape and wrap the top of the wooden dowel to complete your magic
Dress your child with a white shirt and black pants for this DIY magician costume. You can make it dressy or casual.
Use what you have at home or visit your local thrift shop. Wrap the black cape around your child’s neck, then attach the felt bow tie.
Complete the look with the plastic top hat and DIY magic wand. Your child is ready to celebrate Halloween.
MORE stories we think you’ll LOVE:
- The BEST Halloween events for kids in Tampa Bay
- Spooky Science Experiments for Kids Just in Time for Halloween
- Our Favorite Funny Halloween Jokes for Kids
Originally published in October 2023 of Tampa Bay Parenting Magazine.