Easy March DIY Crafts for Kids with Karimah Henry of @craftingafunlife
What better way to celebrate St. Patrick’s Day than creating awesome memories with your kids? From shamrock and rainbow crafts to making a leprechaun trap, I’m sharing simple but fun ways to bring magic to your family for St. Patrick’s Day. Here are some adorable Easter and St. Patrick's Day crafts for kids to make as a family.
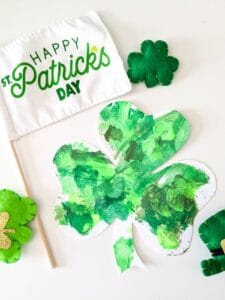
Cotton Ball Stamped Shamrock
Supplies:
- Cotton balls
- White cardstock
- Clothespin
- Pencil
- Scissors
- Paint (different shades of green)
- Paper plate or paint palette
Directions:
- First, draw a shamrock on white cardstock, and then cut it out. Not skilled at drawing? Visit craftingafunlife.com to get a free shamrock template.
- Add a few drops of green paint on a paper plate or paint Make sure to use at least two different shades of green.
- Next, add a cotton ball to the clothespin to use as a paint
- Finally, dip the cotton ball in the paint and dab the
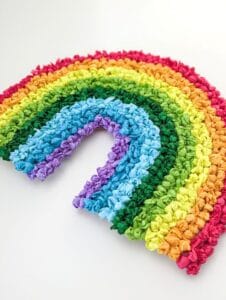
Tissue Paper Rainbow Craft
Supplies:
- Recycled tissue paper (rainbow colors)
- Recycled cardboard
- Scissors
- Glue
- Pencil
Directions:
- First, use a pencil to draw a rainbow on recycled Cut it out then set it aside.
- Next, have your child use safety scissors to cut the tissue paper into small If they are not ready for scissors, let them tear pieces of tissue paper for this craft.
- Finally, crumple the tissue paper into small balls then glue onto the cardboard rainbow until it’s completely covered.
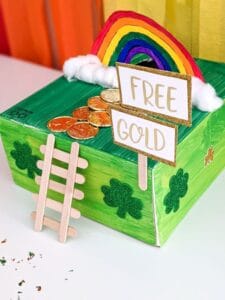
Shoebox Leprechaun Trap
Supplies:
- Old shoebox
- Green acrylic paint
- Cardstock (white and gold glitter)
- White cardstock
- Craft sticks (6)
- Alphabet stickers (gold)
- Glue gun with glue sticks or craft glue
- Cotton balls
- Patrick’s day stickers
- Gold plastic coins
- Scissors or craft knife
- Markers or crayons for the rainbow
Directions:
- First, start by turning over the Then cut a small circle close to the back of the box. This will be the “trap” for the leprechaun.
- Next, paint the shoebox Set aside and allow it to dry.
- Gather 5 craft sticks to make the Cut three in half for the steps. Glue them to the larger craft sticks.
- Have your kids draw a rainbow on white cardstock, and then cut
- Once paint is completely dry, decorate the sides of the box with Patrick’s Day stickers.
- Glue the rainbow in front of the hole in the Then glue cotton balls to form the clouds.
- Gather the gold coins, then glue a trail from the rainbow to the edge of the
- Create a free gold sign using white cardstock and Glue it to a craft stick and attach to the front of the shoe box.
- Finally, place the craft stick ladder in front of the shoebox to complete this leprechaun trap.
Paper Bag Shamrock Craft
Supplies:
- Paint (different shades of green)
- Recycled brown shopping bag
- Fiber fill or shredded paper
- Scissors
- Shamrock template
- Foam brush
- Stapler
- Glitter (optional)
Directions:
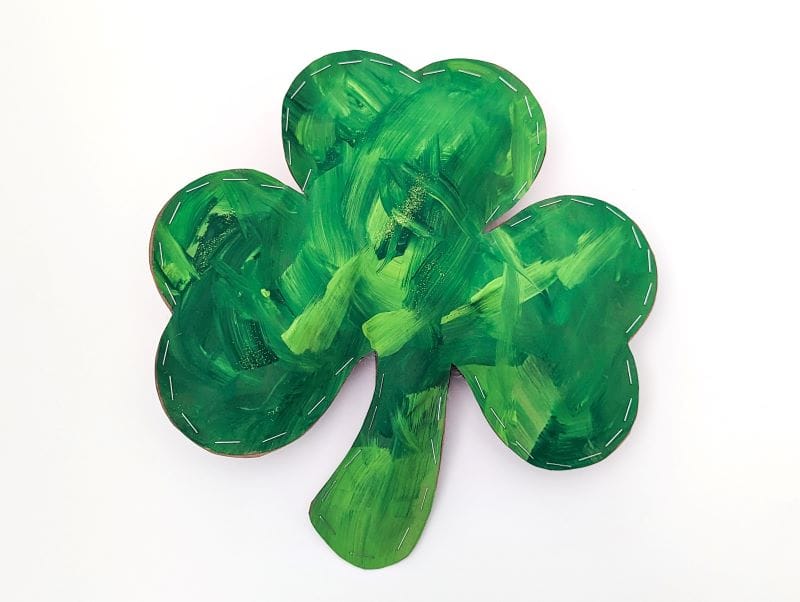
- Download, print and cut the shamrock template. You can also draw your own shamrock if you prefer.
- Trace two copies of the shamrock on the brown paper bag.
- Cut out your paper bag shamrocks. If you have small children, make sure they are using safety scissors.
- Paint one of the paper bag shamrocks. This will be the front side of your craft. Adding glitter is optional.
- Staple the sides of the paper bag shamrocks. Work your way around the edge, stapling a half inch apart. Leave some space at the top and possibly the sides.
- Finally, stuff your paper shamrock with fiber fill, then staple it until it’s completely sealed. If you are not a fan of using a stapler for this project, use a hole punch and yarn instead. You could also use double-sided tape.
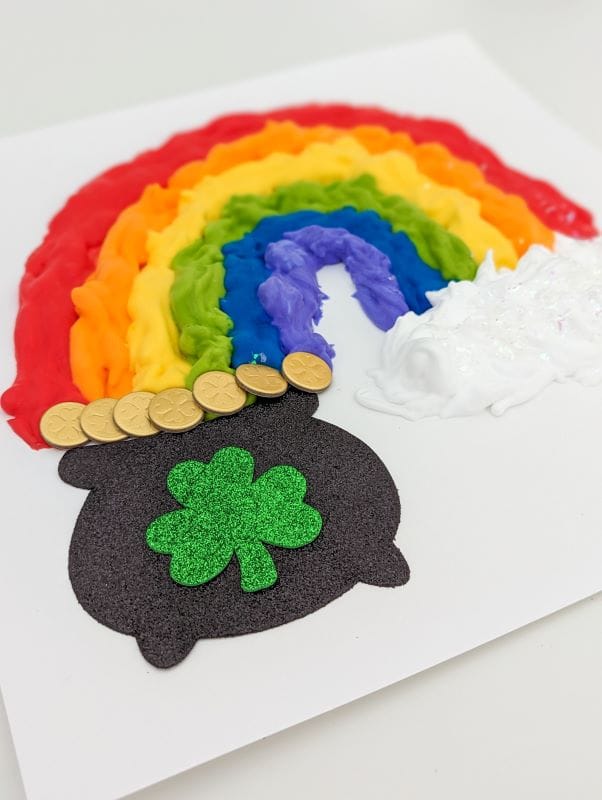
Puffy Paint Rainbow and Pot of Gold Craft
Supplies:
- Craft sticks
- Liquid white glue
- Glitter (optional)
- White cardstock
- Foam shamrock
- Foam shaving cream
- Bowls (7)
- Paintbrushes
- Paper gold coin confetti (I purchased mine at Target but you can also use plain gold confetti)
- Food coloring
- Foam cauldron (I purchased mine at the Dollar Tree)
- Paper gold coin confetti (I purchased mine at Target but you can also use plain gold confetti)
Directions:
- Mix equal parts of liquid white glue and foam shaving cream together and divide equally into seven bowls.
- Into one of the bowls, add red food coloring, mixing the color with the glue and the cream.
- Repeat with five of the bowls, using one of the other colors—orange, yellow, green, blue and purple—in each bowl. Leave one bowl’s contents white.
- Glue the foam cauldron to the bottom left of the white cardstock.
- Attach the foam shamrock to the cauldron. Mine was a sticker so I didn’t have to use glue.
- Now it’s time to start painting your rainbow. Dip your paintbrush in the red DIY puffy paint, then make an arch from the foam cauldron. Repeat until you have used all the colors of the rainbow.
- Paint white puffy paint at the end of the rainbow to create a fluffy white cloud. You can add glitter to your cloud or leave it plain.
- Finally, add your gold confetti above the foam cauldron to make gold coins. Allow the puffy paint to dry before touching the fluffy texture.
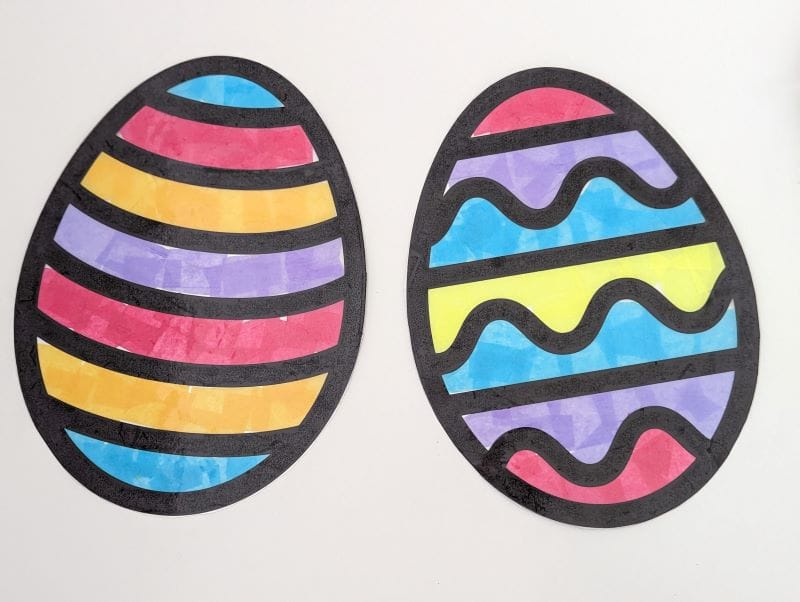
Easter Egg Suncatcher
Supplies:
- Colorful tissue paper
- Scissors
- White cardstock
- Pencil
- Clear contact paper
- Chunky glitter (optional)
- Easter egg template
Directions:
- Cut the tissue paper into small pieces. If you’re not comfortable with your child using scissors, let them tear the tissue paper by hand.
- Cut a piece of contact paper that is larger than the Easter egg, then peel off the backing. Carefully place your egg outline on top of the contact paper.
- Cover the inside of the Easter egg with the tissue paper pieces. Once finished, your child has the option to add chunky glitter.
- Carefully peel off the back of another contact paper and place it on top of the egg, sticky side down. Smooth it out to get rid of any creases or bubbles.
- Finally, cut out the Easter egg suncatcher. Use double-sided tape to stick to a window or sliding glass door.
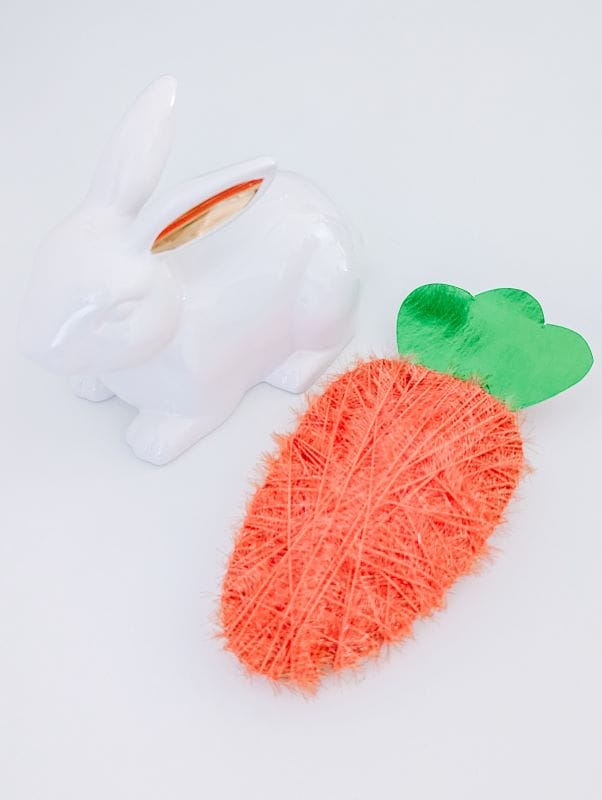
Yarn Wrapped Carrot Craft
Supplies:
- Recycled cardboard
- Orange yarn
- Tape
- Green foil cardstock
- Scissors
- Clear tacky glue (optional)
- Carrot template
Directions:
- Download, print, and cut out the FREE carrot template. If you have a cutting machine like a Cricut, search for a carrot image to cut.
- Next, trace the root of the carrot on recycled cardboard and cut it out.
- Tape the beginning of your orange yarn to the back of your carrot. Now, wrap the carrot with the orange yarn until it’s completely covered.
- Finally, trace the carrot leaf on the green foil cardstock. Cut it out. Tape or glue it to the back of the carrot.
Originally published in the March 2024 and March 2025 issues of Tampa Bay Parenting Magazine. Explore more crafting ideas by visiting CraftingaFunLife.com.


