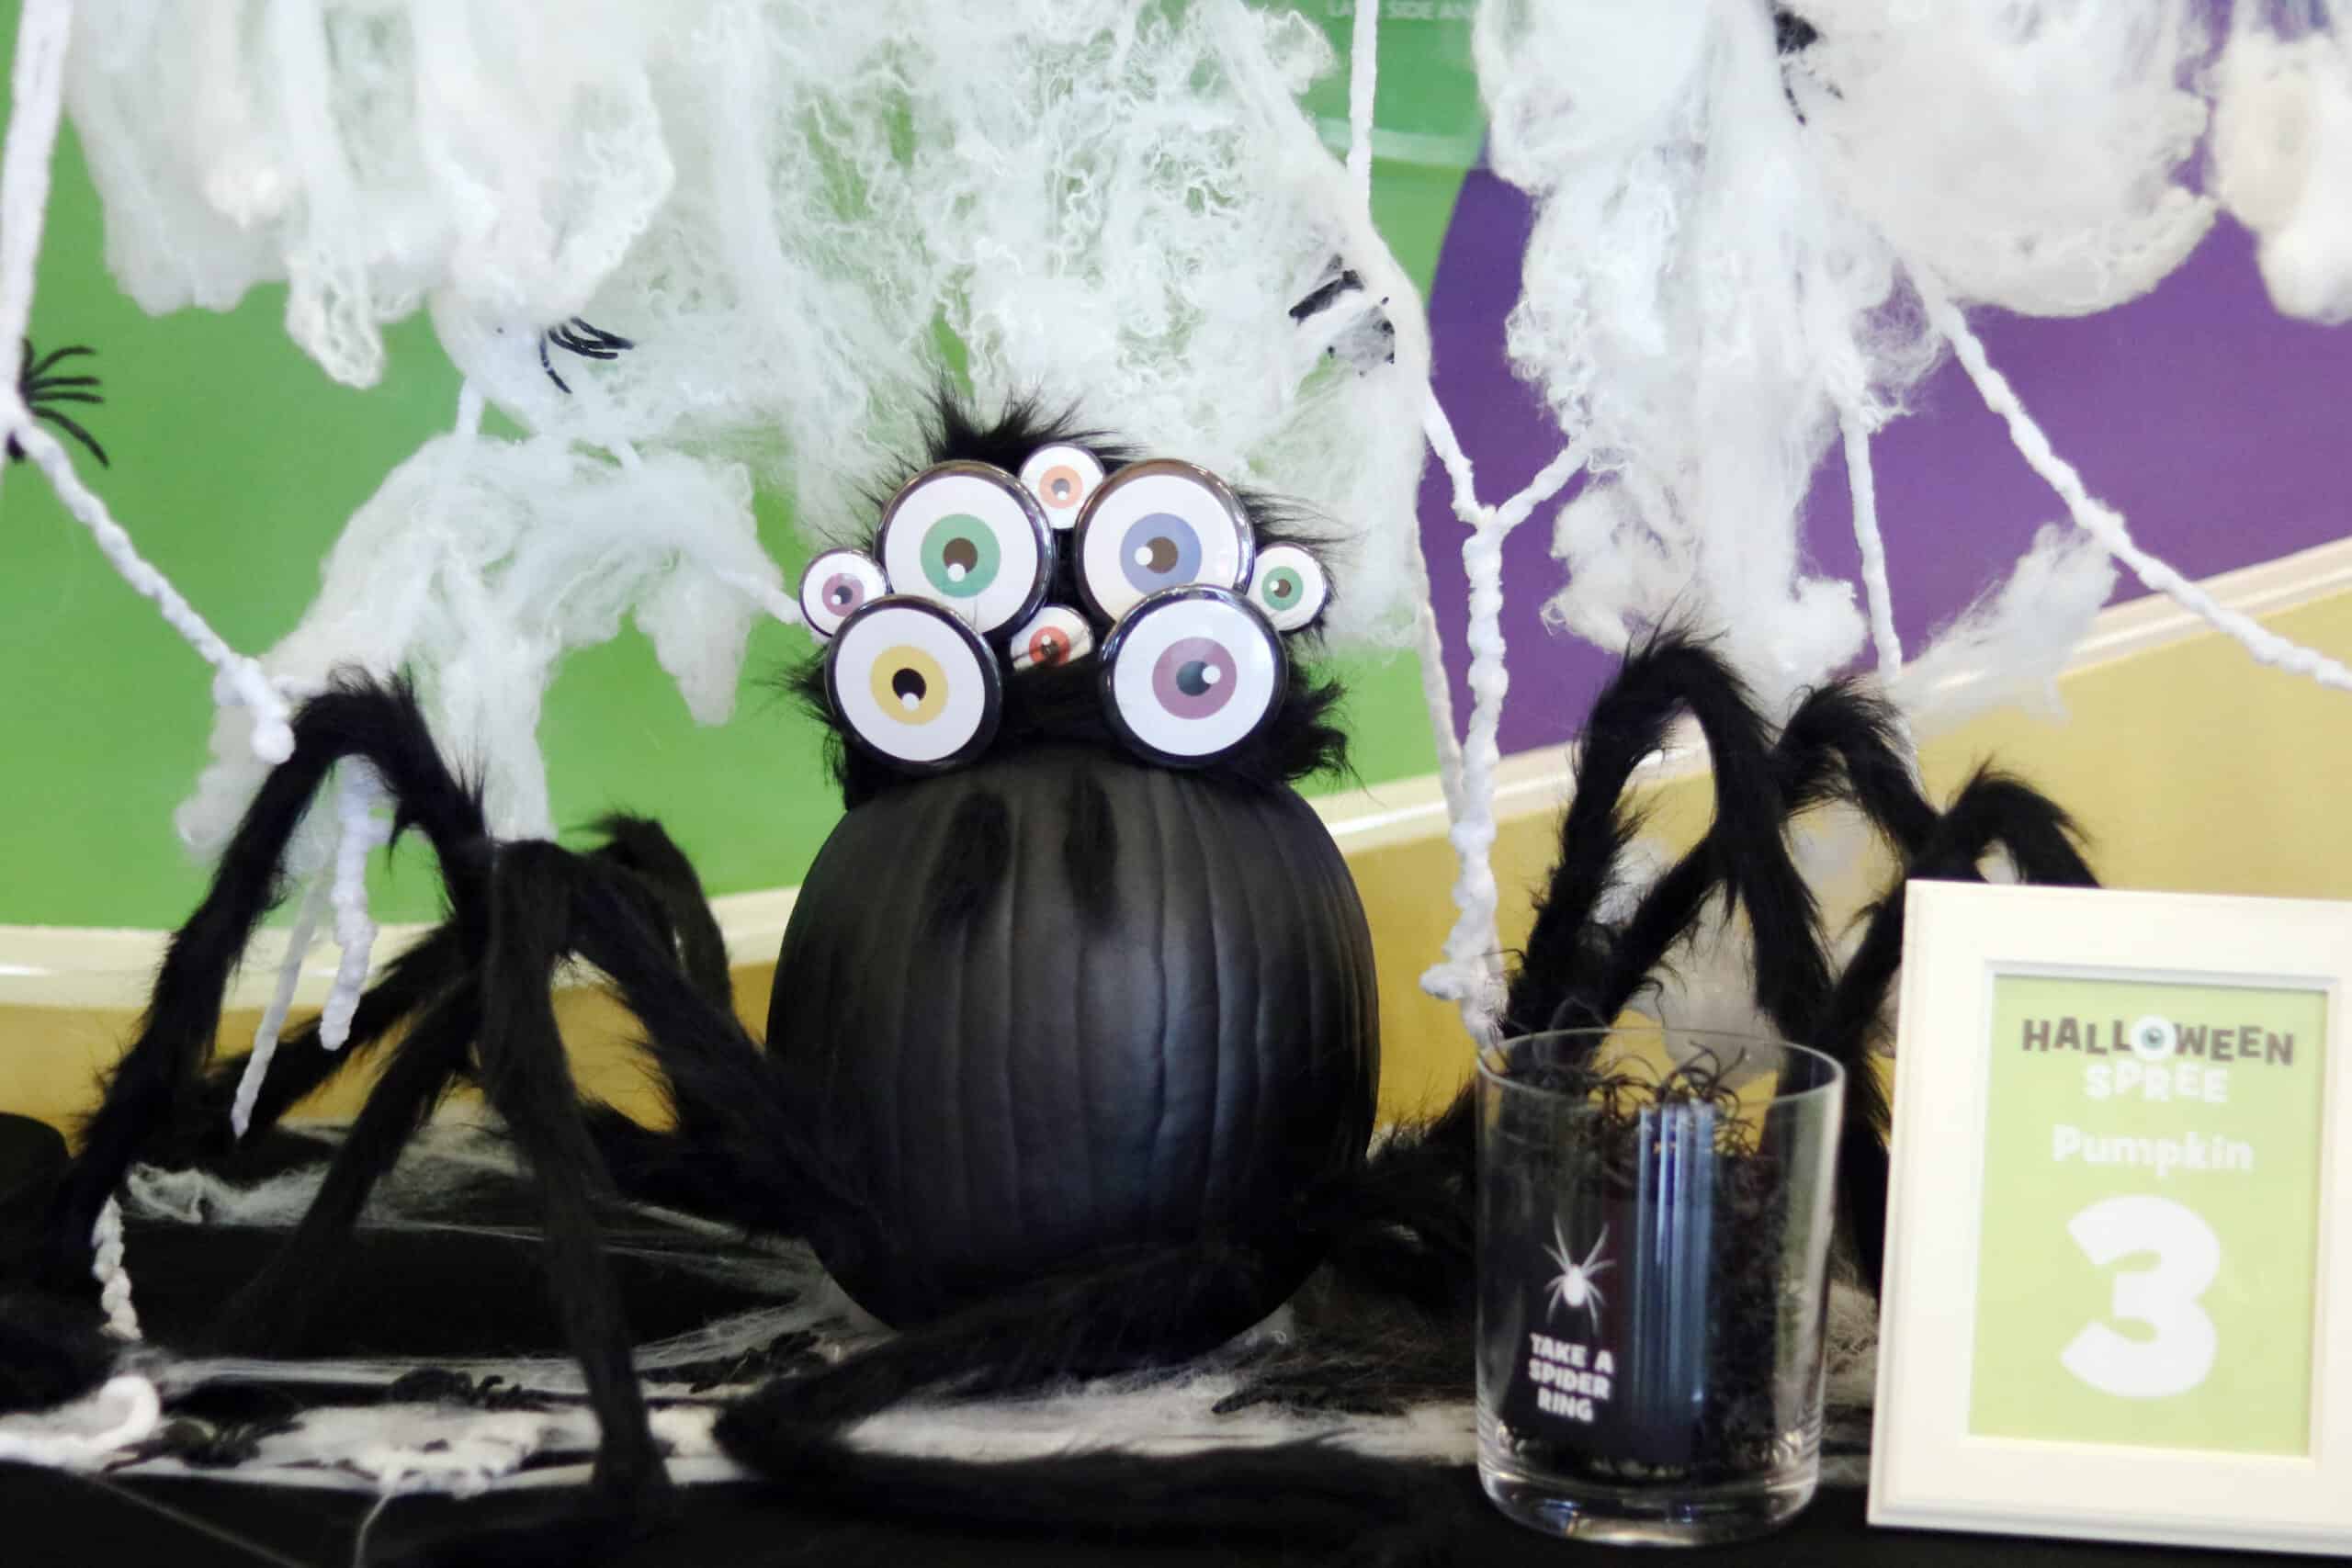
How to Decorate the Perfect Pumpkin
Get ready for some expert tips on how to decorate a pumpkin this Halloween!
Orange and black decorations are popping up on porches, pumpkin spice is in our lattes and Hocus Pocus is playing on repeat!
Halloween is one of my favorite times of year and I’m so glad it’s finally here!
Whether you choose to attend one of the many awesome Halloween events in Tampa Bay or you decide to celebrate at home, there are tons of ways to keep the spooky season alive (or at least undead)!
Decorating the Perfect Pumpkin
One of my favorite Halloween traditions is pumpkin decorating, especially decorating the pumpkin you picked up at the pumpkin patch! (Check out some favorite pumpkin patches in Tampa Bay here!)
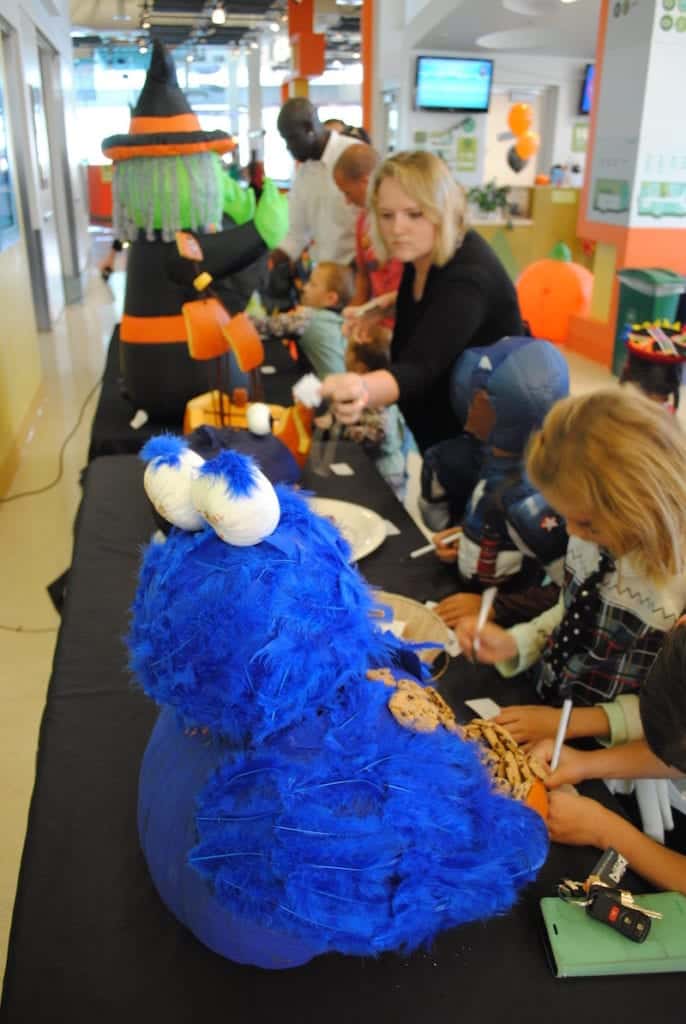
Over the years, the Glazer Children’s Museum staff have put on fiercely competitive pumpkin decorating contests, and you were the judges! Guests vote, a winner is chosen, and bragging rights are earned.
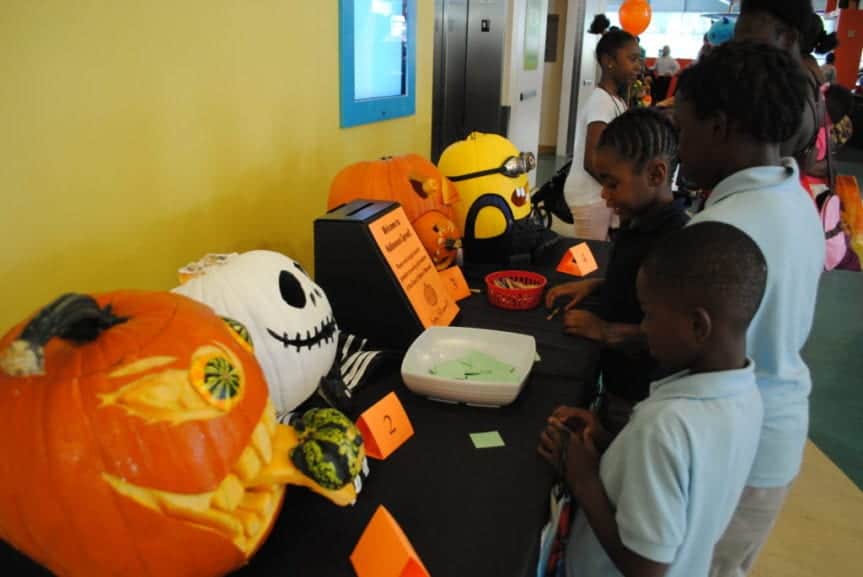
Tips and Tricks for Decorating the Perfect Halloween Pumpkin!
Dry-Erase Markers
Use dry-erase markers to lay out your design directly on your pumpkin. It’s not permanent so you can wipe to erase and it won’t leave the indent that pencils often leave.
Use Cookie Cutters
Cookie cutters can be used as a stencil (grab your dry-erase marker from #1), or to actually carve the shape. For the latter, use a rubber mallet (or a hammer covered in cloth) to hammer the cookie cutter to perforate the pumpkin’s skin, then use your carving tools to finish the task.
Think Beyond the Pumpkin
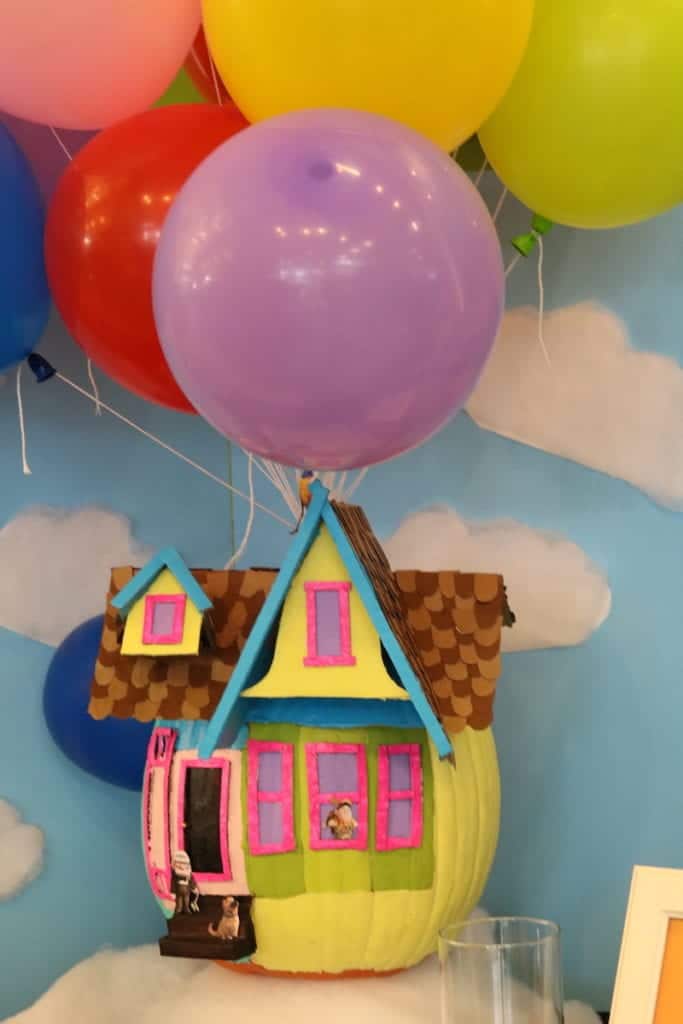
What other props can you use to elevate your design? Maybe pipe cleaner spider legs or even balloons for an “Up” theme!
For other decorating ideas, consider decoupaging with paper or fabric shapes, using Modge Podge to create a glossy finish or seal your pumpkin, or painting your pumpkin with splatters of paint using a toothbrush or paintball gun. You can also use natural materials like leaves, twigs, or pine cones to decorate your pumpkin.
Don’t Limit Yourself
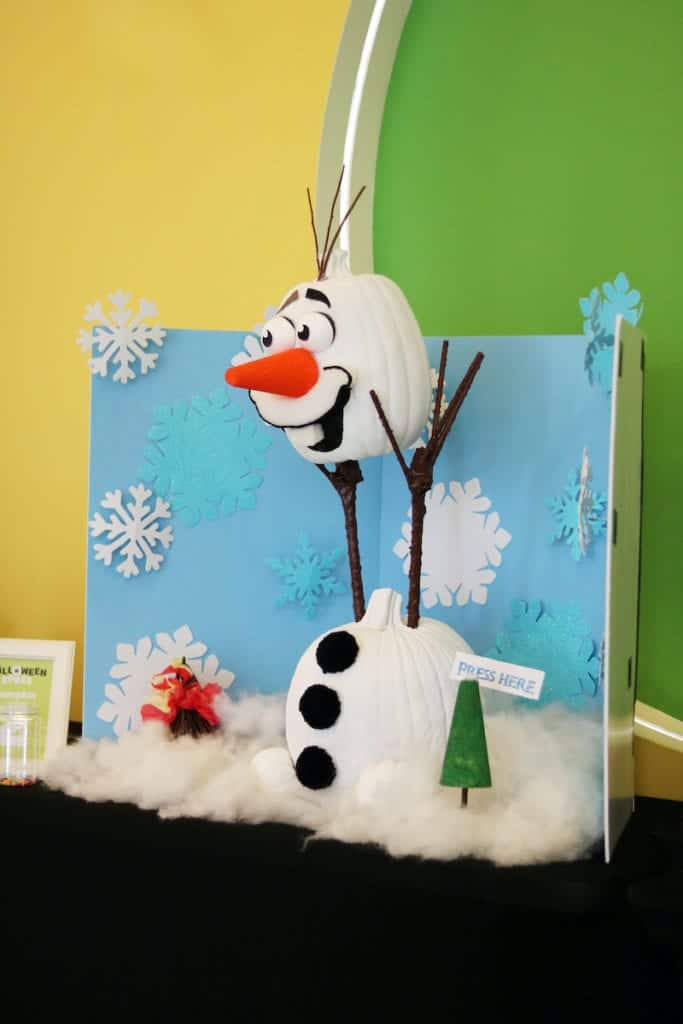
Who said a Halloween pumpkin has to include only one pumpkin? Sometimes the best pumpkin designs incorporate multiple pumpkins. Several pumpkins can be stacked to make a great Olaf!
Cut Your Pumpkin In Half
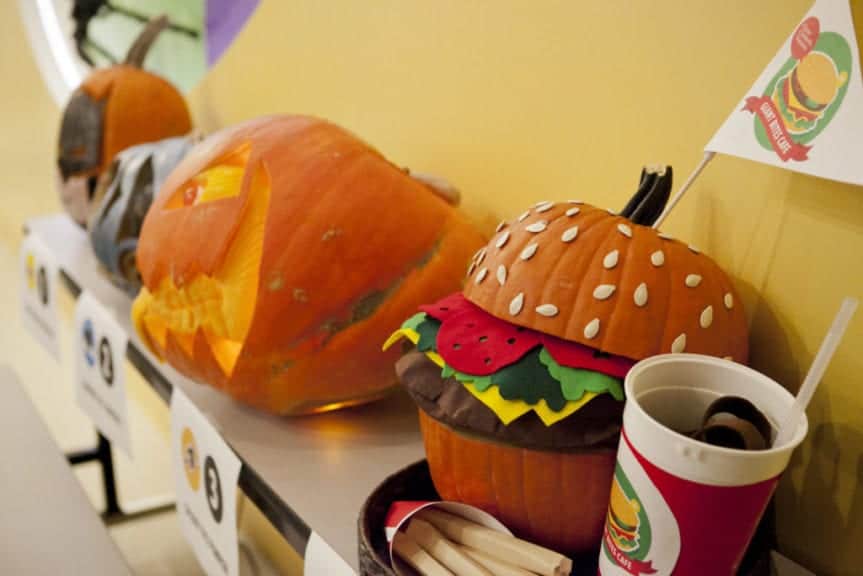
Cut that baby in half! You don’t have to stick with a sphere. Expand your shape options by cutting the pumpkin into pieces. For example, two halves of a pumpkin make a great hamburger bun.
Painting vs. Carving
In this hot humid Florida weather, carved pumpkins last two days at best. Enjoy your creation longer by leaving the pumpkin intact and decorating it with paint and props instead of carving.
Painting Tips:
- Prime your pumpkin. Paint your pumpkin with a white base coat to ensure the colors are vibrant.
- Use a stencil or freehand design. You can create intricate designs using a stencil or paint freehand.
- Add details. Use a fine-tipped brush or permanent markers to add details like eyes, a nose, or a mouth.
- Get creative with textures. Use glitter, sequins, or other materials to add texture and dimension to your pumpkin.
Don’t forget the negative space!
Some of my favorite painted pumpkin designs use negative space. Achieve this look by painting only the background of your design and allowing the orange of the pumpkin show through. For example, you could paint your pumpkin black but leave the shapes for the Jack-o-lantern’s eyes and nose and mouth unpainted.
Related: The BEST Pumpkin Patches, Halloween Events, Fall Festivals and MORE in Tampa Bay!
*Photos provided by the Glazer Children’s Museum.


